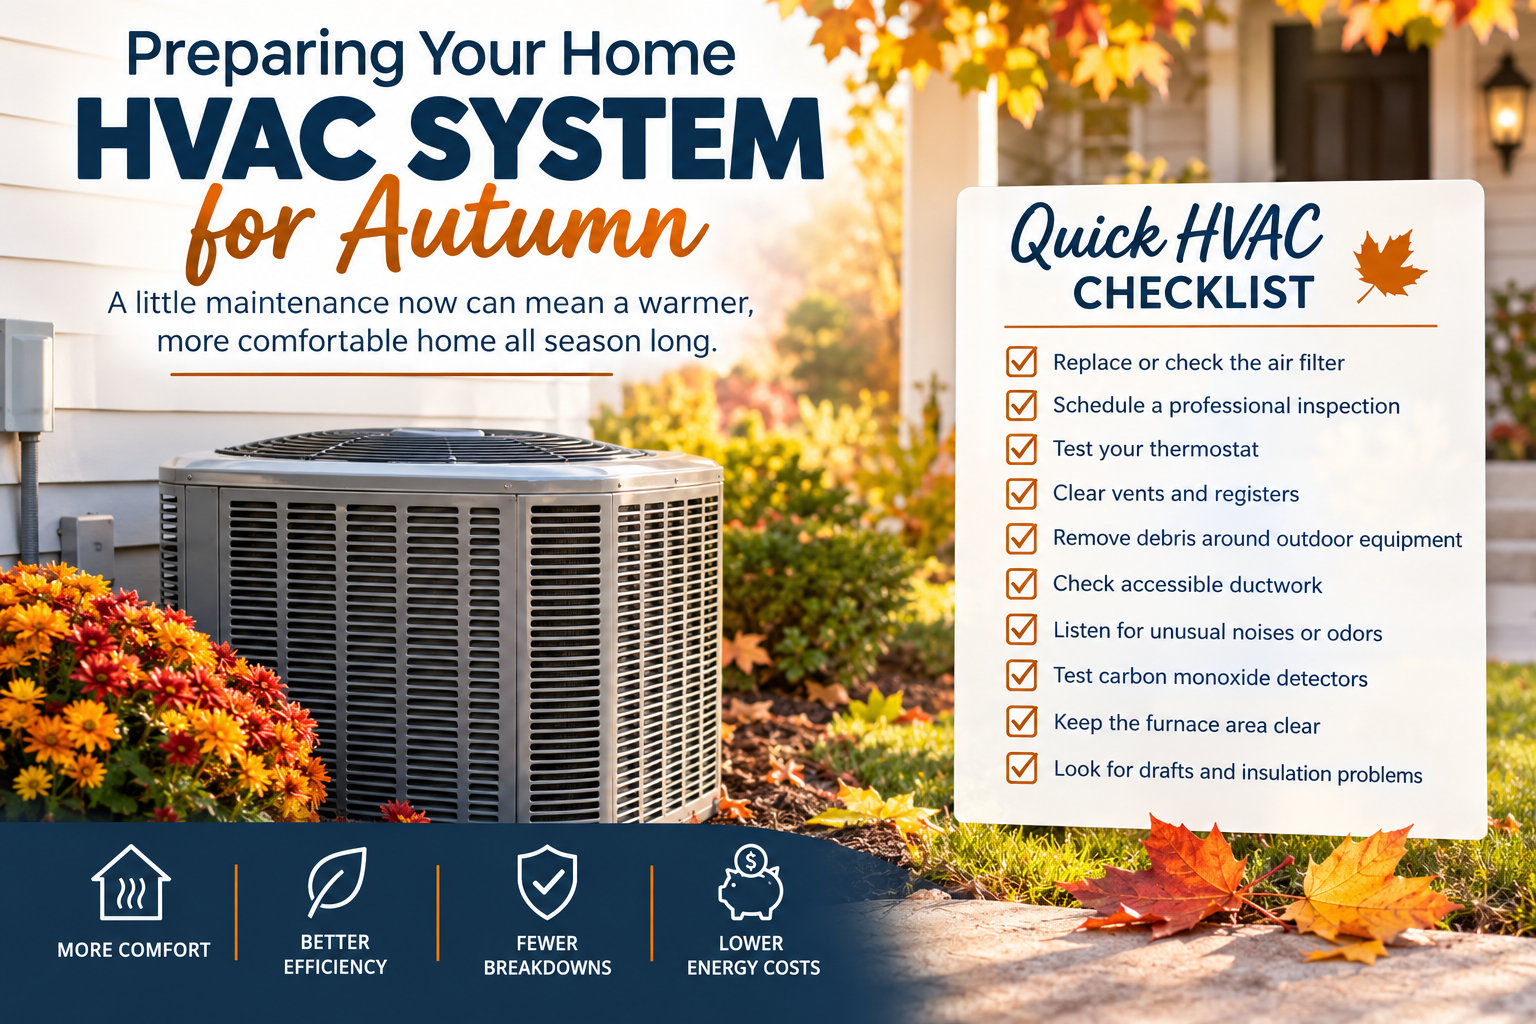
Replacing your furnace filter is an important part of home maintenance to ensure your HVAC system runs efficiently and improves indoor air quality. Here’s a general guide on how to do it:
Steps to Replace a Furnace Filter:
- Turn Off the Furnace:
- For safety, turn off the furnace before replacing the filter. You can turn it off at the thermostat or using the power switch near the unit.
- Locate the Filter:
- The filter is typically found in the air return duct or near the blower compartment of your furnace. It may be behind a cover or in a slot.
- Remove the Old Filter:
- Pull out the old filter carefully to avoid releasing dust and debris. Note the size, type, and airflow direction of the filter, which should be printed on the edge of the filter frame.
- Check Filter Size:
- Furnace filters come in various sizes, usually printed on the old filter. Common sizes include 16x20x1, 20x25x1, etc. Ensure you get the correct size for replacement.
- Install the New Filter:
- Insert the new filter in the correct direction. There will be an arrow on the filter frame indicating airflow direction. The arrow should point towards the furnace or blower.
- Turn the Furnace Back On:
- Once the filter is replaced, turn the furnace back on and ensure it’s functioning properly.
Frequency of Replacement:
- Standard Filters (1-2 inches thick): Every 1-3 months.
- Pleated Filters (3-4 inches thick): Every 6-12 months.
- Permanent/Washable Filters: Clean monthly, or as needed.
Replacing your furnace filter regularly can help extend the life of your system and improve your home’s air quality.